Creative Home and Event Decor Ideas
Elevate Your Space: A Comprehensive Guide to Creative Home and Event Decor
Estimated Reading Time: 20 minutes
Key Takeaways
- Decorating transforms spaces, reflects personality, and impacts mood and functionality, making every room and event uniquely yours.
- Understanding personal style, meticulous planning, and wise budgeting are fundamental steps before embarking on any decorating project.
- Explore room-specific decor ideas, from serene bathroom wall decor and inviting dining room art to vibrant Martha Stewart-inspired yellow kitchens and creative mantel styling.
- Master event decorating with ideas for joyous baby showers, charming pumpkin transformations, and festive Grinch Christmas decorations, creating memorable atmospheres for every celebration.
- Embrace DIY projects, strategic lighting, thoughtful layering, and mindful scale to craft unique, personalized, and professionally finished spaces.
Table of Contents
- The Foundation of Decor: Understanding Your Style & Space
- Home Decor Transformed: Room-by-Room Inspirations
- Celebrating Life: Event Decorating Ideas
- DIY & Creative Expression: Crafting Your Vision
- Tips for Seamless Decorating
- Conclusion: Your World, Beautifully Decorated
- Frequently Asked Questions (FAQs)
- Q1: How do I choose a coherent decorating style when I like so many different things?
- Q2: What’s the best way to make a small room feel larger through decor?
- Q3: Are Floor & Decor tiles suitable for DIY installation, or should I hire a professional?
- Q4: How can I make my holiday decorations feel fresh and unique each year without buying all new items?
- Q5: What are some budget-friendly ways to update my dining room wall decor?
Decorating is more than just arranging objects; it’s the art of transforming spaces, injecting personality, and creating environments that inspire, comfort, and celebrate. Whether you’re refreshing a cozy corner, planning a memorable event, or embarking on a full home makeover, the right decor can profoundly impact mood and functionality. From the serene sanctuary of your bathroom to the festive flair of a holiday gathering, every space offers a canvas for creativity.
In this ultimate guide, we’ll dive into a world of decorating possibilities, offering easy and creative ideas for both your everyday living and special occasions. We’ll explore trending styles, practical tips, and innovative DIY approaches to help you craft spaces that truly reflect your vision. Get ready to unlock your decorating potential and discover how to make every room and event uniquely yours.
The Foundation of Decor: Understanding Your Style & Space
Before diving into specific decor ideas, it’s crucial to understand the fundamental principles that guide successful decorating. This involves recognizing your personal aesthetic, assessing your space’s potential, and establishing a cohesive vision.
Defining Your Decorating Style
Your home should be a reflection of who you are. Taking time to define your decorating style is the first step towards creating a cohesive and inviting environment. Are you drawn to the minimalist charm of Scandinavian design, the rustic warmth of farmhouse decor, the bold patterns of bohemian chic, or the timeless elegance of traditional styles?
- Visual Inspiration: Start by gathering inspiration. Browse platforms like Pinterest (similar to Abby Lawson’s organized boards) and Instagram, flip through decor magazines, and visit local showrooms. Create a mood board—physical or digital—to collect images, colors, and textures that resonate with you. Pay attention to recurring themes, color palettes, and furniture styles that catch your eye.
- Lifestyle Considerations: How do you use your space? Do you entertain frequently, need a quiet workspace, or have a bustling family with pets and children? Your lifestyle should heavily influence your decor choices, ensuring beauty meets functionality.
- Existing Elements: Take stock of what you already have. Can existing furniture be repurposed or updated? What are the architectural features of your home that you want to highlight or soften? Working with your current foundation can save money and inspire creative solutions.
Planning Your Decorating Project
Once your style is defined, a well-structured plan will ensure a smooth decorating journey. This involves setting a budget, prioritizing projects, and gathering necessary resources.
- Budgeting Wisely: Decorating doesn’t have to break the bank. Establish a realistic budget for each project, allocating funds for essentials like paint, key furniture pieces, and decorative accents. Consider DIY projects to save costs, and look for sales or second-hand treasures. Just as one might organize their finances, organizing your decor budget ensures you stay on track.
- Prioritizing Projects: Tackle one room or one event at a time to avoid feeling overwhelmed. Start with high-impact areas or those that need the most attention. Perhaps your bathroom wall decor is a quick win, or your dining room wall decor needs a complete overhaul.
- Gathering Resources & Inspiration: Beyond visual boards, identify specific stores, brands, or artisans that align with your vision. This could include exploring Floor & Decor locations for tile inspiration or seeking out specific Martha Stewart-inspired pieces for a kitchen refresh.
Home Decor Transformed: Room-by-Room Inspirations
Every room in your home serves a unique purpose and offers distinct decorating opportunities. Let’s explore how to infuse character and style into key areas, turning your house into a personalized haven.
Bathroom Wall Decor: Crafting a Serene Sanctuary
The bathroom, often overlooked, can be transformed into a tranquil retreat with thoughtful bathroom wall decor. It’s a space where practicality meets personal escape, and the right aesthetics can make all the difference.
- Mirrors with Impact: Beyond functionality, mirrors can be powerful decorative elements. Choose an oversized mirror to make a small bathroom feel larger, or opt for a unique frame—ornate, minimalist, or rustic—to add a focal point.
- Artistic Touches: Don’t shy away from art in the bathroom. Waterproof prints, botanical illustrations, abstract pieces, or even a gallery wall of small frames can elevate the space. Ensure artwork is protected from moisture or placed strategically away from direct splash zones.
- Floating Shelves & Storage: Install floating shelves for both storage and display. Adorn them with scented candles, small plants, rolled towels, or decorative bottles. This adds depth and visual interest while keeping essentials organized.
- Texture and Tiles: Consider accent walls with textured wallpaper, shiplap, or decorative tiles. Floor & Decor tiles offer a vast array of options, from classic subway tiles to modern geometric patterns, which can significantly enhance the bathroom’s aesthetic. A tiled accent wall behind the vanity can be particularly striking.
- Paint Color Power: A fresh coat of paint can instantly refresh the bathroom. Soft blues, greens, grays, or even a bold charcoal can set the mood. Complement the wall color with coordinating towels and bath mats for a cohesive look.
Dining Room Wall Decor: Setting the Scene for Connection
The dining room is where memories are made over shared meals. Dining room wall decor plays a pivotal role in setting the ambiance, fostering conversation, and making guests feel welcome.
- Statement Art: A single, large piece of artwork above a buffet or dining table can anchor the room. Choose art that sparks conversation or reflects your personal taste, whether it’s a vibrant abstract, a serene landscape, or a captivating portrait.
- Gallery Walls: A curated gallery wall can tell a story. Mix framed prints, photographs, mirrors, and even decorative plates. Varying sizes and frame styles adds visual interest, but maintaining a consistent color palette or theme ensures cohesion.
- Architectural Accents: Consider adding wainscoting, picture frame molding, or even a bold wallpaper accent wall to give the dining room a sense of grandeur and structure. These elements add architectural depth without requiring extensive renovations.
- Mirrors for Light and Space: Strategically placed mirrors can bounce light around the room, making it feel brighter and more spacious. They also add a touch of elegance, especially antique or elaborately framed mirrors.
- Textural Elements: Incorporate texture through woven wall hangings, macrame, or even decorative shelving filled with ceramics and glassware. These elements add warmth and sophistication, enhancing the dining experience.
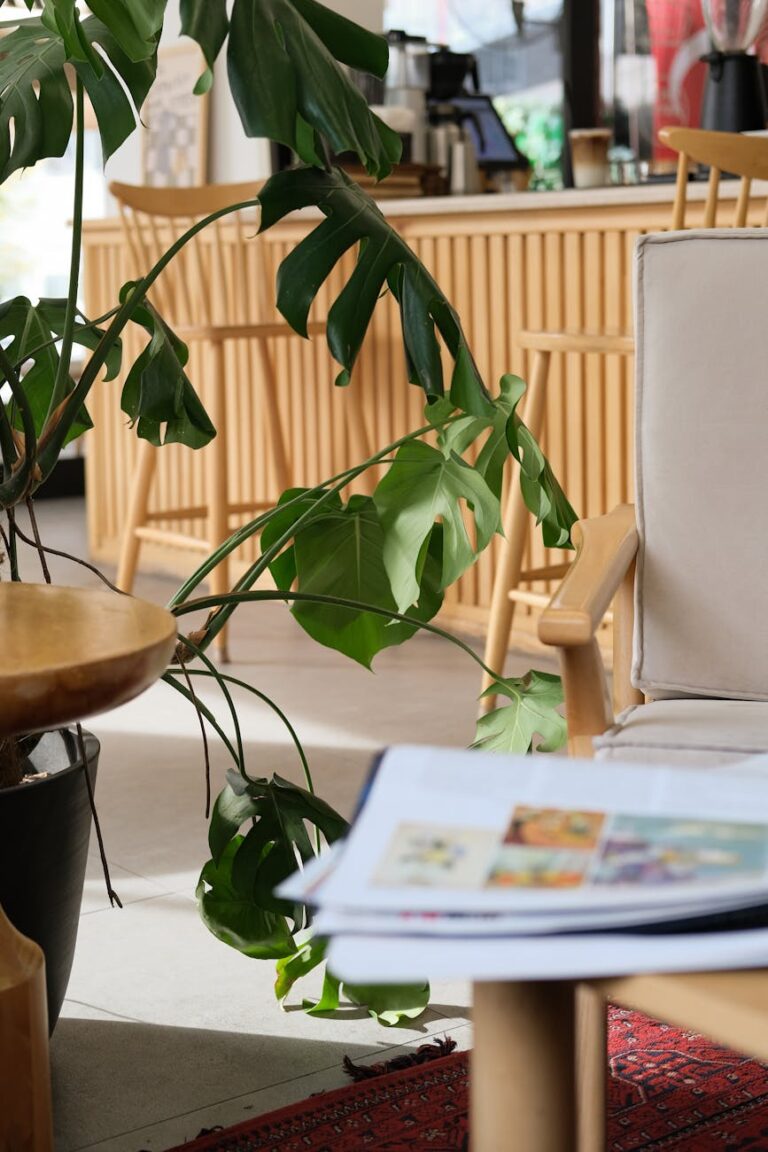
Living Spaces: Mantel Decor & Beyond
The living room often serves as the heart of the home, and the fireplace mantel is frequently its focal point. Thoughtful mantel decor can elevate the entire room, creating a cozy and inviting atmosphere.
- The Layered Look: Start with an anchor piece, such as a large mirror, a piece of art, or a television. Then, layer in smaller items like varying height candlesticks, small sculptures, stacks of books, and plants. Overlap frames and objects slightly to create depth.
- Seasonal Styling: Update your mantel decor with the changing seasons. In fall, think mini pumpkins, gourds, and autumn leaves. For winter, evergreen garlands (like those mentioned for Christmas doors), twinkling lights, and festive figurines can transform the space.
- Symmetry vs. Asymmetry: Both approaches can be effective. Symmetrical arrangements offer a sense of balance and formality, while asymmetrical displays can feel more modern and dynamic. Experiment to find what best suits your aesthetic.
- Beyond the Mantel: Extend decor to built-in shelves or side tables. Use decorative trays, unique vases, and personal mementos to create vignettes. Consider oversized floor plants or decorative baskets for texture and warmth.
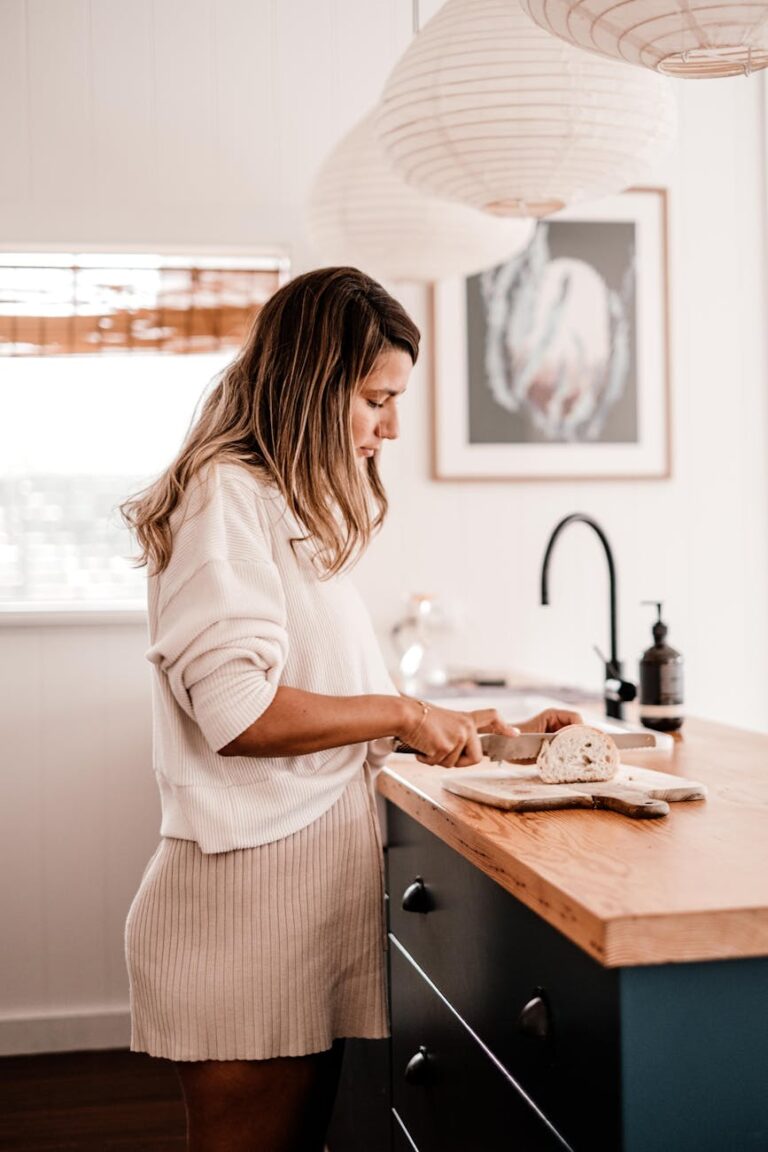
Kitchen Charm: Martha Stewart-Inspired Yellow Kitchen Decor
The kitchen is often called the heart of the home, a place for cooking, gathering, and creating. If you’re inspired by timeless elegance and cheerful vibrancy, Martha Stewart yellow kitchen decor offers a delightful palette.
- The Power of Yellow: Yellow brings warmth, energy, and a welcoming glow to any kitchen. From soft buttery yellows to bolder lemon hues, this color can be incorporated through cabinetry, wall paint, or accent pieces. Martha Stewart often favors classic, cheerful tones that brighten a space without overwhelming it.
- Classic Cabinetry: Opt for classic cabinet styles – Shaker, beadboard, or traditional raised panel – painted in a creamy or soft yellow. Pair with brass, brushed nickel, or oil-rubbed bronze hardware for a sophisticated touch.
- Timeless Countertops & Backsplashes: Complement yellow cabinets with natural materials like marble, quartz, or butcher block countertops. For backsplashes, consider classic subway tile (perhaps from Floor & Decor) or a subtle mosaic that picks up on the yellow tones or provides a clean contrast.
- Natural Light & Greenery: Maximize natural light with sheer curtains or valances. Incorporate fresh herbs in pots, a bowl of lemons, or a vase of sunflowers to enhance the kitchen’s lively and natural feel, a signature of Martha Stewart’s style.
- Open Shelving & Display: Use open shelving to display curated collections of white ceramics, glass jars, cookbooks, and small potted plants. This adds personality and keeps essentials within reach.
Artistic Walls: Paint Wall with Stencils
Want to add visual interest and a custom touch without the commitment of wallpaper? Paint wall with stencils offers an incredibly versatile and budget-friendly solution to transform any room.
- Endless Design Possibilities: From intricate damask patterns and geometric designs to whimsical botanicals and faux texture effects, stencils come in an astonishing array of styles. You can create a focal point wall, add a border, or even stencil an entire room for a wallpaper-like effect.
- Choosing Your Stencil: Consider the scale of your room and the overall aesthetic. Large, bold patterns work well in expansive spaces, while smaller, more delicate designs are perfect for intimate areas or subtle accents. Test your stencil and paint on a scrap piece of cardboard first.
- Techniques for Success:
- Prep is Key: Ensure your wall is clean, dry, and smoothly painted with your base color.
- Secure the Stencil: Use painter’s tape or temporary spray adhesive to firmly attach the stencil to the wall, preventing bleed-through.
- Less is More: Apply paint in thin layers, using a stencil brush, roller, or sponge. Blot off excess paint to prevent seepage under the stencil edges.
- Crisp Lines: For crisp lines, remove the stencil carefully while the paint is still slightly damp. Reposition and repeat the pattern.
- Beyond Walls: Stencils aren’t just for walls! Use them to update furniture, create custom artwork on canvas, or add flair to textiles like curtains and throw pillows. This technique allows for cohesive design elements throughout a room.
Foundation & Finish: Floor & Decor Tiles and Locations
The right flooring and decorative elements from stores like Floor & Decor can dramatically impact a room’s aesthetic and functionality. Understanding your options is key to achieving a polished look.
- Floor & Decor Tile Versatility: Floor & Decor tile selection is vast, catering to every style and budget.
- Ceramic and Porcelain: Durable, water-resistant, and available in countless colors, patterns, and sizes, these are perfect for bathrooms, kitchens, and high-traffic areas. They can mimic natural stone or wood.
- Natural Stone: Marble, travertine, slate, and granite offer luxurious, unique finishes, ideal for adding a touch of elegance.
- Wood Look Tile: Get the aesthetic of hardwood with the durability and moisture resistance of tile, perfect for areas where real wood isn’t practical.
- Decorative Tiles: Intricate patterns, mosaics, and encaustic-look tiles are excellent for creating accent walls, backsplashes, or unique floor features.
- Exploring Floor & Decor Locations: Visiting a Floor & Decor location allows you to see, touch, and compare materials in person. Their showrooms often feature inspiration displays, showcasing various tile applications in real-life settings. This hands-on experience is invaluable for visualizing how different materials will look in your home.
- Beyond Tile: Floor & Decor also offers a range of other flooring options like hardwood, laminate, and vinyl, as well as installation materials and tools. They are a one-stop shop for many renovation and decorating projects involving foundational elements.
- Design Consultation: Many locations offer design services to help you select the right products and plan your project, ensuring your choices align with your overall decor vision.
Celebrating Life: Event Decorating Ideas
Beyond permanent home decor, special occasions call for unique, temporary transformations. Event decorating creates memorable atmospheres that enhance celebrations and leave lasting impressions.
Joyful Beginnings: Baby Shower Decorations
Celebrating the arrival of a new baby is a joyous occasion that deserves beautiful baby shower decorations. From whimsical themes to elegant setups, here are ideas to create a picture-perfect party.
- Theme Selection: Start with a theme. Popular choices include “Twinkle Twinkle Little Star,” “Oh Boy/Girl,” “Safari Adventure,” “Under the Sea,” “Woodland Creatures,” or a classic “It’s a Boy/Girl” in pastel blues or pinks. The theme will guide all your decor choices.
- Color Palette: A cohesive color palette is crucial. Pastels are traditional, but modern showers often incorporate bolder hues, metallics, or gender-neutral greens and yellows.
- Centerpieces & Tablescapes:
- Diaper Cakes: A decorative and practical centerpiece, often themed and adorned with ribbons and small toys.
- Floral Arrangements: Fresh flowers in small vases or elegant bouquets add a touch of sophistication.
- Themed Props: Incorporate items like baby blocks, miniature baby clothes, or animal figurines relevant to your theme.
- Backdrop & Photo Booth: Create a stunning backdrop for photos. This could be a balloon arch, a fabric drape with fairy lights, or a chalkboard sign welcoming guests. A small photo booth area with props adds to the fun.
- Sweet Treats & Favors: Decorate the dessert table with themed cupcakes, cookies, and a beautiful cake. Edible favors like custom-decorated cookies or small jars of honey are always a hit.
- DIY Touches: Personalized banners, hand-stenciled onesies as decor, or creative guest book alternatives (like signing blocks or wishes for baby) add a heartfelt touch.
Autumnal Wonders: Pumpkin Decorating Ideas
As autumn arrives, pumpkins become the ultimate symbol of the season. Beyond carving, there are countless creative pumpkin decorating ideas to elevate your fall decor, from elegant to playful.
- Painted Pumpkins:
- Monochromatic Elegance: Paint pumpkins in solid colors like white, black, gold, silver, or even pastels for a chic, sophisticated look that moves beyond traditional orange.
- Pattern Play: Use stencils (like those for walls!) to paint polka dots, stripes, chevrons, or intricate patterns onto your pumpkins.
- Ombre Effect: Create a beautiful gradient by blending different shades of paint on a single pumpkin.
- Chalkboard Paint: Paint pumpkins with chalkboard paint, then write messages or draw designs that can be easily changed.
- Glitter & Glam: Apply adhesive spray and sprinkle fine glitter onto pumpkins for a dazzling display. This works wonderfully with metallic or jewel-toned glitter.
- Decoupage Delights: Use Mod Podge to apply fabric scraps, fallen leaves, old book pages, or floral patterns to your pumpkins for a unique, textured finish.
- Embellished Pumpkins:
- Ribbon & Lace: Wrap pumpkins with elegant ribbons, burlap, or delicate lace for a rustic or refined touch.
- Studs & Bling: Glue on rhinestones, pearls, or metallic studs for a glamorous punk-rock pumpkin.
- Floral Accents: Attach silk flowers, dried botanicals, or small sprigs of greenery to the pumpkin’s surface or around the stem.
- No-Carve Creativity: These methods are safer, last longer, and offer endless possibilities for personalized autumn displays. Arrange decorated pumpkins on your porch, mantel, or dining table for a festive fall atmosphere.
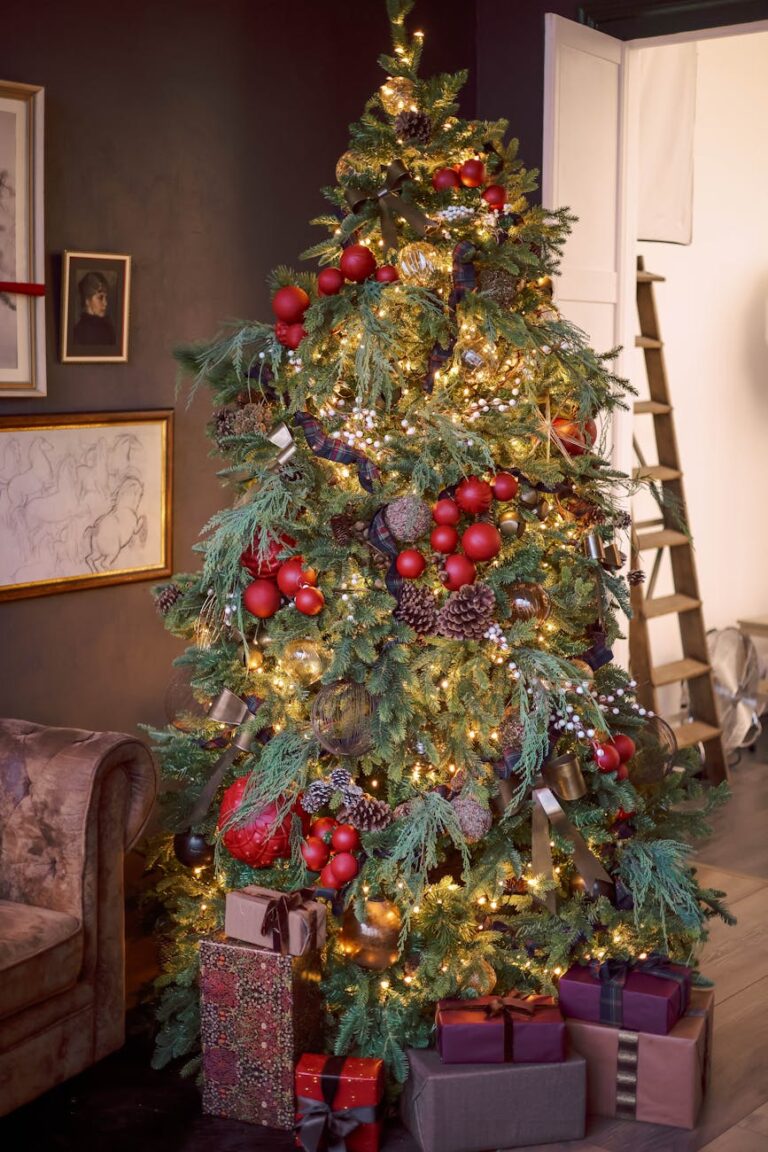
Holiday Magic: Christmas Door Decorations & Grinch Christmas
The holiday season is synonymous with warmth, cheer, and spectacular decorations. Your front door and festive themes like a Grinch Christmas offer prime opportunities for creating holiday magic.
- Christmas Door Decorations: Welcoming Wonder:
- Classic Wreaths: A beautiful evergreen wreath, adorned with berries, pinecones, and a festive bow, is a timeless choice. Personalize it with ornaments or even small LED lights.
- Garland Grandeur: How to hang outdoor Christmas garland around the front door effectively involves strategic placement and secure fastening. Drape evergreen garland around your doorframe, securing it with floral wire or outdoor command hooks. For extra impact, weave in string lights, ornaments, and ribbons. Abby Lawson from Just a Girl and Her Blog provides excellent tips for hanging garland, emphasizing secure installation for a polished look.
- Oversized Ornaments: Hang large, weather-resistant ornaments or sleigh bells from your door.
- Lanterns & Luminaries: Place decorative lanterns filled with fairy lights or flameless candles on either side of the door.
- Door Wraps: For a truly transformative look, consider a fabric or vinyl door wrap that makes your door look like a giant present, a gingerbread house, or a snowy landscape.
- Grinch Christmas Decorations: Whimsically Who-ville:
- The Grinch Steals Christmas: Embrace the mischievous spirit of the Grinch! Create a theme around his attempt to steal Christmas. Think upside-down Christmas trees, tangled lights, and crooked wreaths.
- Whimsical Colors: Use lime green, red, and white as your primary colors. Incorporate whimsical patterns and stripes.
- Character Cutouts: Place cutouts of the Grinch, Max, Cindy Lou Who, and other Who-ville characters around your home and yard.
- Feathery Touches: Use green feather boas or whimsical green tinsel to mimic the Grinch’s fur on wreaths, garlands, and trees.
- Heart of Christmas: Balance the Grinch’s mischief with reminders of the true spirit of Christmas, perhaps with signs that read “It came without ribbons, it came without tags, it came without packages, boxes or bags.”
Milestones & Memories: Graduation Cap Decoration
Graduation day is a momentous occasion, and personalizing your graduation cap decoration is a fantastic way to express your personality, acknowledge your journey, or simply stand out in the crowd.
- Theme Your Achievements:
- Academic Field: Decorate your cap to reflect your major. For example, science majors might have atom symbols or lab equipment, literature majors could feature book titles or famous quotes, and art majors can showcase a mini masterpiece.
- Future Plans: Illustrate your post-graduation dreams, whether it’s a specific career, travel plans, or further education.
- School Spirit: Incorporate your university’s colors, mascot, or iconic landmarks.
- Creative Techniques:
- Paint & Markers: Use acrylic paints or fabric markers to create designs directly on the cap.
- Glitter & Bling: Add sparkle with glitter, sequins, rhinestones, or small beads.
- 3D Elements: Attach small plastic figures, artificial flowers, faux pearls, or even miniature versions of tools related to your field. Just ensure they don’t obstruct your view or others’ during the ceremony.
- Collage: Create a collage of small photos, ticket stubs, or memorable quotes that represent your college journey.
- Vinyl Decals: For crisp lines and intricate designs, use vinyl cutouts.
- Meaningful Messages:
- Inspirational Quotes: Choose a quote that motivated you through your studies or looks forward to your future.
- Thank You’s: Dedicate your cap to parents, mentors, or friends who supported you.
- Humor: A witty pun or inside joke related to your major can be a fun touch.
- Tips for Success:
- Plan Ahead: Sketch your design on paper first.
- Measure: Ensure your design fits within the cap’s dimensions.
- Secure Well: Use strong adhesive (fabric glue, hot glue) to attach elements securely so they don’t fall off during the ceremony.
- Don’t Obstruct: Make sure your decor doesn’t hinder your ability to see or wear the cap comfortably.
DIY & Creative Expression: Crafting Your Vision
Decorating doesn’t always require purchasing expensive items. Many of the most unique and cherished pieces are those you create yourself. Embracing DIY projects allows for unparalleled customization and a deep sense of satisfaction, whether you’re taking inspiration from ‘DIY Decora DTI projects’ (interpreting this as general creative DIY) or developing your own concepts.
Unleashing Your Inner Artisan: DIY Decor Projects
- Repurposing & Upcycling: Give old furniture new life with a fresh coat of paint, new hardware, or by transforming its function entirely. An old dresser can become a chic bar cart, or a vintage suitcase can be converted into a side table.
- Personalized Art: Create your own canvas art, abstract pieces, or framed prints. Use found objects, natural elements, or even finger painting for a truly personal touch.
- Handmade Textiles: Sew your own throw pillows, curtains, or table runners. This allows you to choose fabrics and patterns that perfectly match your decor.
- Crafting Decorative Accents: Make your own candles, terrariums, wreaths, or decorative bowls. These small touches can add significant character to a room.
- Stenciling Beyond Walls: As explored earlier, stencils are fantastic for customizing furniture, fabrics, and small decor items. This is a great way to tie different elements of a room together with a consistent pattern.
Digital Inspiration for Physical Spaces
Even virtual creative outlets can spark real-world decorating ideas. While “Decora DTI” refers to a game, the principle of designing and customizing virtual spaces offers a similar creative exercise.
- Virtual Mood Boarding: Use online design tools or even simple image collages (like Pinterest boards, similar to how Abby Lawson curates ideas) to visualize potential room layouts, color schemes, and furniture arrangements before committing to physical purchases.
- Exploring Digital Trends: Game environments and digital art often showcase cutting-edge color palettes, architectural styles, and decorative trends that can be adapted for physical spaces.
- Harnessing Digital Tutorials: Platforms like YouTube and various blogs (much like Just a Girl and Her Blog) offer step-by-step guides for a multitude of DIY projects, from building shelves to painting techniques. These digital resources empower you to learn new skills and confidently tackle projects.
Tips for Seamless Decorating
Achieving a beautifully decorated space or a perfectly themed event requires more than just good ideas; it demands planning, organization, and attention to detail.
The Power of Organization in Decor
A well-organized space inherently feels more beautiful and functional. Integrating organizational principles into your decorating process ensures longevity and ease of maintenance.
- Declutter First: Before you start decorating, declutter your space. A minimalist approach allows your chosen decor to shine and prevents a cluttered look. “Abby Organizes” principles align perfectly here – clear out what you don’t need to make space for what you love.
- Functional Decor: Choose items that serve a dual purpose. A stylish ottoman with storage, decorative baskets, or shelving units that display and organize are excellent examples.
- Regular Refresh: Periodically review your decor. Rotate items, seasonal pieces, and even artwork to keep your space feeling fresh and prevent visual fatigue. This also helps identify items that no longer serve a purpose.
Lighting, Layering, and Scale
These three elements are crucial for creating a balanced, inviting, and professional-looking decorated space.
- Strategic Lighting: Incorporate multiple light sources—ambient (overhead), task (reading lamps), and accent (spotlights on art). Dimmer switches add flexibility to adjust mood. Lighting can dramatically alter how colors appear and how a room feels.
- Layering for Depth: Layering adds richness and visual interest.
- Textiles: Combine different textures in throw blankets, pillows, and rugs.
- Objects: Arrange decor items on surfaces at varying heights and depths.
- Art: Layer smaller art pieces in front of larger ones, or combine different mediums.
- Mindful Scale and Proportion: Ensure that furniture and decor items are proportionate to the size of the room and to each other. An oversized sofa in a small room will make it feel cramped, while tiny furniture in a large room will get lost. Pay attention to the negative space around objects to create balance.
Personal Touches and Storytelling
Your home should tell your story. Don’t be afraid to infuse it with personal touches that reflect your travels, hobbies, and memories.
- Display Cherished Items: Showcase heirlooms, souvenirs from trips, framed photos, or collections that are meaningful to you. These pieces add character and warmth.
- Mix Old and New: Combine vintage finds with contemporary pieces for a layered, timeless look. This adds depth and a sense of history to your decor.
- Embrace Imperfection: A perfectly styled, showroom-like space can feel impersonal. Allow for a bit of “lived-in” charm and imperfection; it makes a home feel more authentic and inviting.
Conclusion: Your World, Beautifully Decorated
Decorating, whether for your home or an event, is a journey of self-expression and creativity. From selecting the perfect bathroom wall decor to planning vibrant baby shower decorations, or even mastering the festive spirit of Grinch Christmas decorations, every choice contributes to a larger narrative—your story.
We’ve explored a vast landscape of ideas: from the artistic freedom of stenciled walls and the personalized touch of graduation cap decoration, to the timeless elegance of Martha Stewart yellow kitchen decor and the foundational impact of Floor & Decor tiles. Remember to embrace your unique style, plan thoughtfully, and don’t shy away from DIY projects to infuse your spaces with personality.
Ultimately, a beautifully decorated space is one that brings you joy, reflects who you are, and functions seamlessly for your life. By applying these insights and embracing your creativity, you’re not just decorating; you’re crafting environments that inspire, comfort, and celebrate every moment. Go forth and decorate, turning every corner into a masterpiece of your own making!
Frequently Asked Questions (FAQs)
Q1: How do I choose a coherent decorating style when I like so many different things?
A1: It’s common to be drawn to multiple styles! Start by identifying common elements or feelings among your favorite inspirations. Do they all lean towards natural textures, specific color palettes, or a sense of coziness? You can also blend styles, creating an “eclectic” look, but aim for a dominant style and use elements from others as accents. For example, a modern farmhouse style combines rustic charm with clean, contemporary lines. Create a mood board to visually identify recurring themes and narrow down your preferences.
Q2: What’s the best way to make a small room feel larger through decor?
A2: Several tricks can make a small room feel more spacious:
1. Light Colors: Paint walls in light, neutral colors to reflect light.
2. Mirrors: Strategically place large mirrors, especially opposite windows, to bounce light and create an illusion of depth (e.g., in bathroom wall decor or dining room wall decor).
3. Vertical Space: Draw the eye upwards with tall shelving, floor-to-ceiling curtains, or vertical wall art.
4. Minimal Clutter: Keep surfaces clear. Use multi-functional furniture with hidden storage.
5. Leggy Furniture: Furniture with exposed legs allows more floor space to be seen, making the room feel airier.
Q3: Are Floor & Decor tiles suitable for DIY installation, or should I hire a professional?
A3: Floor & Decor offers a wide range of tiles, and while some simpler projects (like a small backsplash) can be tackled by experienced DIYers, more complex installations (large format tiles, intricate patterns, entire floors, or wet areas like showers) often benefit from professional installation. Their website and store locations often provide resources and expert advice. Factors like your experience level, the type of tile, and the subfloor preparation needed will determine if it’s a suitable DIY project.
Q4: How can I make my holiday decorations feel fresh and unique each year without buying all new items?
A4: To refresh your holiday decor without a complete overhaul:
1. Change Your Color Scheme: Use existing ornaments but introduce a new accent color through ribbons, bows, or small floral picks.
2. Repurpose & Rearrange: Use familiar items in new ways or in different rooms. That Christmas door decorations garland might look great on your mantel this year.
3. DIY Additions: Create a few new handmade ornaments, a stenciled sign, or festive pillow covers.
4. Natural Elements: Incorporate fresh greenery, pinecones, citrus slices, or cinnamon sticks for fragrance and texture.
5. Themed Accents: Add small, inexpensive items that tie into a specific theme, like a few Grinch figures for a Grinch Christmas touch.
Q5: What are some budget-friendly ways to update my dining room wall decor?
A5: You don’t need to spend a lot to refresh your dining room walls:
1. Paint: A fresh coat of paint in a new color can be transformative.
2. DIY Art: Create your own large-scale abstract painting, or print and frame high-resolution digital art downloads.
3. Gallery Wall with Affordable Frames: Mix and match inexpensive frames (thrift stores are great for this) and fill them with family photos, postcards, or free printable art.
4. Stenciling: Paint a wall with stencils to create a custom pattern that looks high-end without the cost of wallpaper.
5. Decorative Mirrors: Look for unique mirrors at second-hand stores and give them a fresh coat of paint if needed. Mirrors enhance light and create the illusion of space.