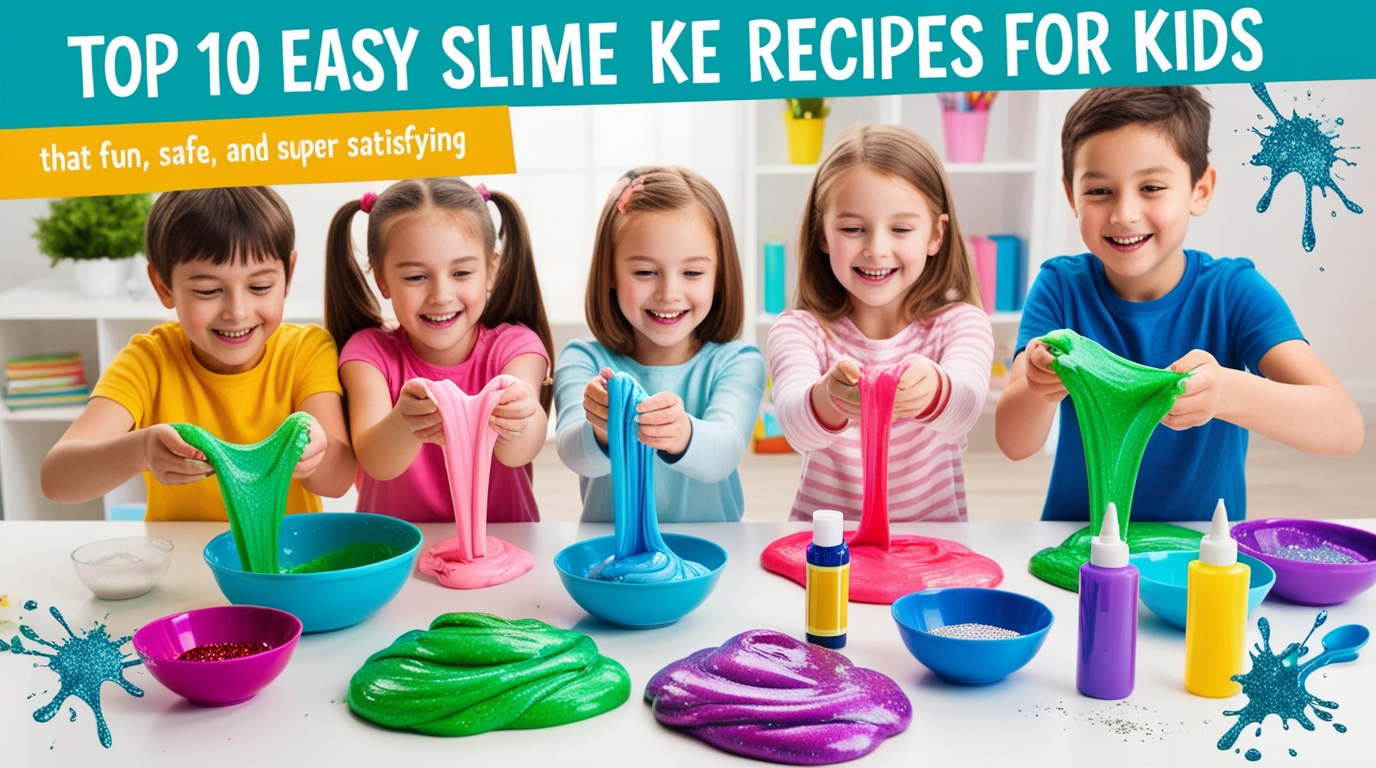
Top 10 Easy Slime Recipes for Kids That Are Fun, Safe, and Super Satisfying
Introduction
Why Kids Love Making Slime

Easy Slime Recipes for Kids Slime has taken the world by storm—and for good reason! It’s stretchy, squishy, colorful, and oddly satisfying to play with. Kids love the texture, the endless customization options, and the fun of making something with their own hands. Slime isn’t just a toy—it’s an experience. From mixing ingredients to watching it come together, making slime feels like a mini science experiment in your kitchen.
The best part? It’s affordable, easy to make, and endlessly adaptable. Whether your child loves glitter, bright colors, or fluffy textures, there’s a slime recipe to match every personality and age group.
The Science Behind Slime
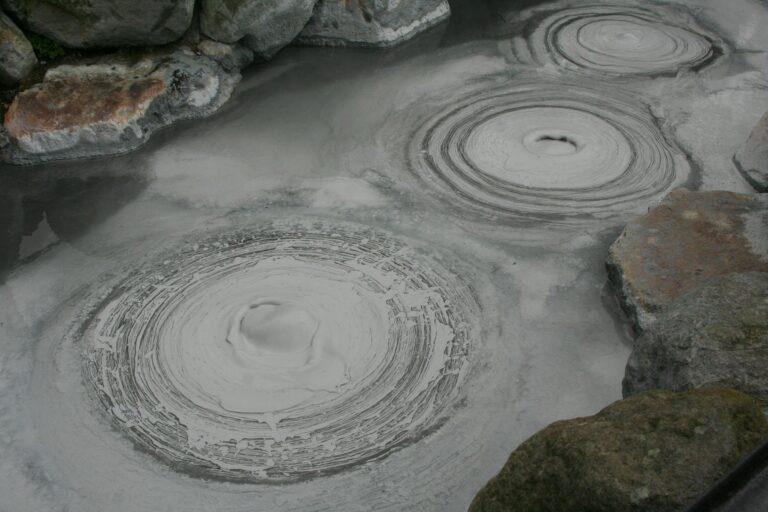
Behind all the fun lies some cool science. Slime is a non-Newtonian fluid, meaning it behaves like both a liquid and a solid. When you stretch it slowly, it flows like honey. But when you pull it quickly, it snaps! This happens because of a chemical reaction between polyvinyl acetate (PVA) in glue and borate ions from the activator (like borax or contact lens solution).
This process creates polymers, long chains of molecules that give slime its stretchy texture. Making slime is not only fun but also a hands-on way to teach kids about chemistry and reactions—without the need for a lab coat!
What You Need to Make Slime at Home
Basic Ingredients and Tools
Before we dive into the recipes, here’s a list of the basic ingredients you’ll need for most slimes:
- White school glue (PVA glue) – The base ingredient.
- Baking soda – Helps the slime firm up.
- Contact lens solution or borax solution – Acts as the activator.
- Water – For adjusting texture.
- Food coloring or paint – Adds color and fun.
- Mixing bowl and spoon – For combining ingredients.
Optional add-ins:
- Glitter, beads, foam balls, shaving cream, or lotion – Customize your slime’s look and feel.
Safety Tips for Parents and Kids
While slime is generally safe, always supervise young children during playtime. Avoid recipes that use harsh chemicals or ingredients not meant for kids. Some key tips:
- Wash hands before and after making slime.
- Avoid contact with eyes and mouth.
- Store slime in airtight containers to prevent drying.
- If your child has sensitive skin, use gloves or choose borax-free recipes.
Now, let’s jump into the fun part—the recipes!
Top 10 Easy Slime Recipes for Kids
1. Classic Glue easy slime recipe
This is the most popular slime recipe and the easiest to start with!
Ingredients:
- ½ cup white glue
- ½ teaspoon baking soda
- 1 tablespoon contact lens solution
- A few drops of food coloring
Instructions:
- In a bowl, mix the glue and food coloring.
- Add baking soda and stir until smooth.
- Slowly add contact lens solution while stirring continuously.
- Once the slime starts to pull away from the bowl, knead it with your hands until stretchy.
Your classic slime is ready! Store it in an airtight container to keep it fresh.
2. Fluffy easy slime recipe
If your child loves soft, cloud-like textures, fluffy slime is perfect!
Ingredients:
- ½ cup white glue
- 3 cups shaving cream
- 1 tablespoon contact lens solution
- ½ teaspoon baking soda
- Food coloring
Instructions:
- Combine glue and shaving cream in a bowl.
- Add baking soda and food coloring.
- Stir in contact lens solution until the slime thickens.
- Knead until fluffy and smooth.
Fluffy slime feels like soft marshmallows—it’s a sensory treat!
3. Glitter easy slime recipe
Who doesn’t love a little sparkle? Glitter slime adds that magical touch!
Ingredients:
- ½ cup clear glue
- ½ teaspoon baking soda
- 1 tablespoon contact lens solution
- Glitter (lots of it!)
Instructions:
- Mix glue and glitter in a bowl.
- Add baking soda and stir well.
- Slowly add contact lens solution while stirring.
- Knead until you have a glittery masterpiece!
It’s perfect for parties, holidays, or just when your child wants to make something shiny and fun.
4. Butter easy slime recipe
Butter slime has a smooth, buttery texture that’s incredibly satisfying to stretch and mold.
Ingredients:
- ½ cup white glue
- 1 tablespoon cornstarch
- 1 tablespoon contact lens solution
- Soft modeling clay (like Daiso clay)
Instructions:
- Mix glue and cornstarch in a bowl.
- Add contact lens solution and stir until it starts to form slime.
- Add the clay and knead together until the texture becomes soft and spreadable.
Butter slime doesn’t stick to your hands and feels like Play-Doh with extra stretch!
5. Clear easy slime recipe
Clear slime is mesmerizing—it looks like glass!
Ingredients:
- ½ cup clear glue
- ½ teaspoon baking soda
- 1 tablespoon contact lens solution
Instructions:
- Pour the clear glue into a bowl.
- Add baking soda and stir until dissolved.
- Slowly add contact lens solution and mix until the slime forms.
- Let it sit in a sealed container for a day to remove bubbles for that crystal-clear look.
6. Crunchy easy slime recipe
Crunchy slime is an absolute sensory delight—it’s colorful, textured, and makes the most satisfying crunch sound when you squeeze it!
Ingredients:
- ½ cup white glue
- ½ teaspoon baking soda
- 1 tablespoon contact lens solution
- Colorful foam beads or small plastic beads
Instructions:
- Mix glue and baking soda in a bowl.
- Add contact lens solution slowly until slime forms.
- Once it’s stretchy and non-sticky, add your foam beads and mix them in.
- Knead well until the beads are evenly distributed.
Tip: The more beads you add, the crunchier the slime gets. It’s perfect for sensory play or ASMR-style fun.
7. Glow-in-the-Dark easy slime recipe
Turn off the lights and watch your slime glow! This one is always a hit during sleepovers or science-themed parties.
Ingredients:
- ½ cup clear glue
- ½ teaspoon baking soda
- 1 tablespoon contact lens solution
- Glow-in-the-dark paint or glow pigment powder
Instructions:
- Combine glue and glow paint in a bowl.
- Add baking soda and mix well.
- Slowly stir in contact lens solution until slime forms.
- Charge your slime under a light for a few minutes—then turn off the lights and enjoy the glow!
Pro Tip: The longer you expose it to light, the brighter it glows in the dark.
8. Edible easy slime recipe
For younger kids who might be tempted to taste their creations, this edible slime is a safe and tasty alternative!
Ingredients:
- 1 cup marshmallows
- 2 tablespoons cornstarch
- 1 tablespoon coconut oil
- Food coloring (optional)
Instructions:
- Place marshmallows and coconut oil in a microwave-safe bowl.
- Heat for 30 seconds until melted, then stir in food coloring.
- Gradually add cornstarch until the slime is stretchy but not sticky.
This sweet slime smells amazing and is totally safe to eat in small amounts (though not meant as a snack!).
9. Magnetic Slime Recipe
This one adds a cool science twist—your slime will actually move with magnets!
Ingredients:
- ½ cup white glue
- 2 tablespoons iron oxide powder (available online)
- 1 tablespoon contact lens solution
- ½ teaspoon baking soda
Instructions:
- Mix glue, baking soda, and iron oxide powder in a bowl.
- Add contact lens solution slowly and stir until slime forms.
- Knead well until smooth.
- Use a strong magnet to make your slime move, stretch, or even dance!
This recipe is great for older kids who love science experiments. Just remember to wash hands after handling, as the iron powder can stain.
10. Rainbow Slime Recipe
Why settle for one color when you can have them all? Rainbow slime is bright, cheerful, and beautiful.
Ingredients:
- 1 cup white glue (divided into separate bowls)
- Food coloring (red, blue, yellow, green, purple, etc.)
- ½ teaspoon baking soda per bowl
- 1 tablespoon contact lens solution per bowl
Instructions:
- In each bowl, mix glue with a different food coloring.
- Add baking soda and contact lens solution to each bowl, stirring until slime forms.
- Once all colors are ready, roll them out into ropes and gently layer them side by side.
- Twist them together to create your rainbow effect!
Kids love pulling and mixing the colors—it’s creative and visually stunning!
How to Store Slime Properly
Preventing Slime from Drying Out
One of the biggest challenges with slime is keeping it fresh. To make your slime last longer:
- Store it in an airtight container or resealable bag.
- Keep it at room temperature—avoid direct sunlight or heat.
- If it starts drying, add a few drops of warm water or lotion and knead it back to life.
With proper care, most homemade slime lasts one to two weeks before needing to be replaced.
Cleaning Up After Slime Play
Slime play can get messy, but cleanup doesn’t have to be stressful. Here’s how to make it easy:
- Use a tablecloth or tray before playtime.
- Remove slime from clothes using vinegar or rubbing alcohol.
- Wash hands and surfaces with warm soapy water after playing.
- Avoid carpeted areas, as slime can stick to fibers.
Teaching kids to clean up their slime area encourages responsibility—and makes slime time more fun for everyone!
Educational Benefits of Making Slime
Hands-On Science Learning
Making slime is more than just fun—it’s science in action. Kids get to see real-life chemistry as they mix ingredients and observe how liquids turn into solids. It’s an excellent way to introduce STEM (Science, Technology, Engineering, and Math) concepts in a hands-on, engaging way.
By experimenting with ratios, colors, and textures, children learn about cause and effect, problem-solving, and measurement skills—all while having fun.
Encouraging Creativity and Focus
Slime encourages kids to use their imagination. They can create endless combinations—sparkly, crunchy, fluffy, or even themed slimes for holidays. This creative outlet not only stimulates their artistic side but also improves focus and fine motor skills.
Many parents notice that slime play has a calming, therapeutic effect on children. The tactile sensation helps relieve stress and enhances sensory development.
Conclusion
Slime-making isn’t just a passing trend—it’s a fun, educational, and creative activity that brings out the scientist and artist in every child. Whether you’re making classic glue slime or experimenting with magnetic or edible versions, the joy of creating something from scratch never gets old.
With just a few simple ingredients, you can spark hours of laughter, creativity, and learning right at home. So gather your supplies, roll up your sleeves, and get ready to make some magical, squishy, and satisfying slime!
FAQs
1. How long does homemade slime last?
With proper storage, most slimes last about 1–2 weeks before drying out or losing elasticity.
2. Can I make slime without borax?
Yes! You can use baking soda and contact lens solution instead—they work as a safe and effective activator.
3. What’s the best way to fix sticky slime?
Add a few drops of contact lens solution and knead it until the slime becomes less sticky.
4. Can I make slime without glue?
Yes! Try using cornstarch, shampoo, or marshmallows for glue-free slime alternatives.
5. Is slime safe for kids?
Yes, most recipes are safe with supervision. Always ensure ingredients are non-toxic and kids don’t ingest slime unless it’s an edible recipe.