The Best Ways to Clean and Maintain Home Security Cameras for Longevity and Clarity
Table of Contents
Imagine This
Picture this: your home security camera is your silent guardian, capturing every moment to protect what matters most. But when the time comes to review crucial footage, the images are grainy, foggy, or obstructed by dirt. It’s a scenario no one wants to face, yet it’s a common result of neglecting regular maintenance. By dedicating just a little time to cleaning and upkeep, you can ensure your cameras provide clear, reliable footage when you need it most.
In this guide, we’ll walk you through everything you need to know about cleaning and maintaining your home security cameras. From must-have tools to step-by-step processes, you’ll learn how to keep your system in peak condition.
Why Regular Maintenance Is Crucial for Home Security Cameras
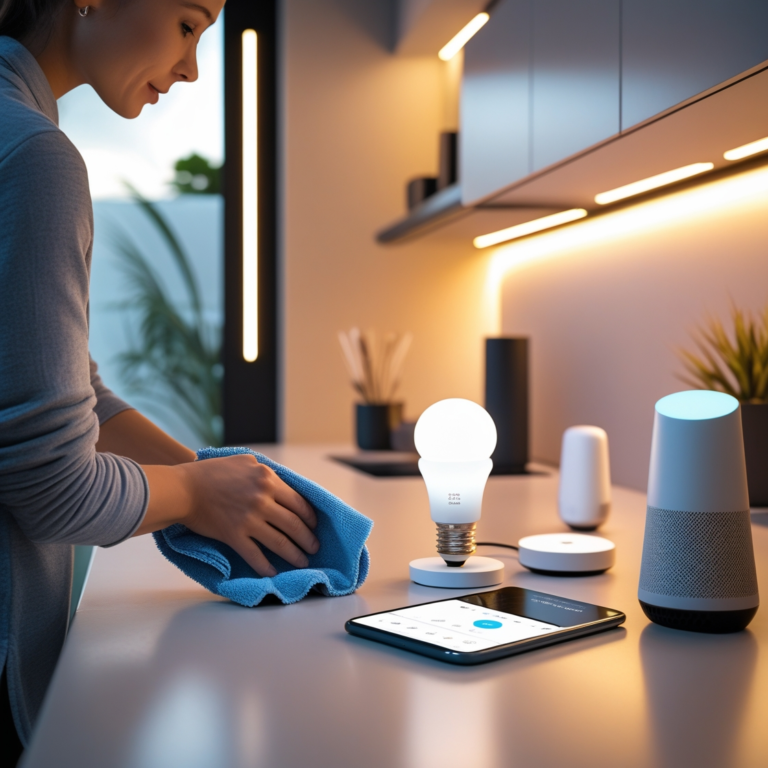
Your home security cameras are exposed to a variety of elements, whether they’re installed indoors or outdoors. Dust, weather conditions, and even insects can take a toll on their performance. Without regular maintenance, you risk compromised video quality and reduced equipment lifespan.
The Benefits of Proper Maintenance
- Improved Video Quality: Dirt and smudges can blur footage, making it hard to identify critical details.
- Extended Lifespan: Well-maintained cameras last longer, saving you money on replacements.
- Enhanced Security: Clear, functional cameras ensure your home is always protected.
- Cost Savings: Preventative maintenance is far less expensive than replacing damaged equipment.
A Quick Stat
According to security experts, cameras that receive routine maintenance have up to 40% fewer operational issues than neglected systems.
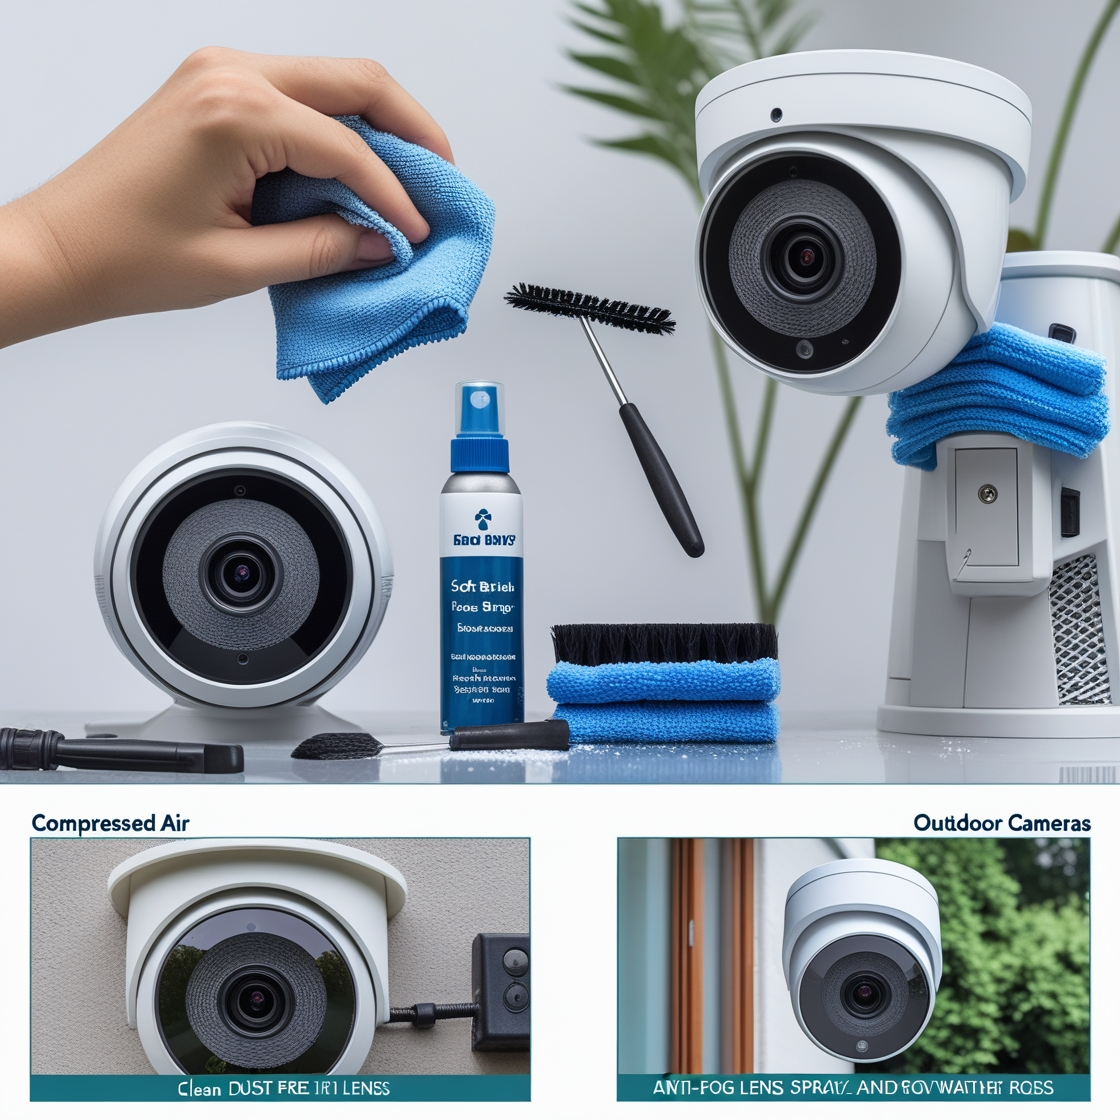
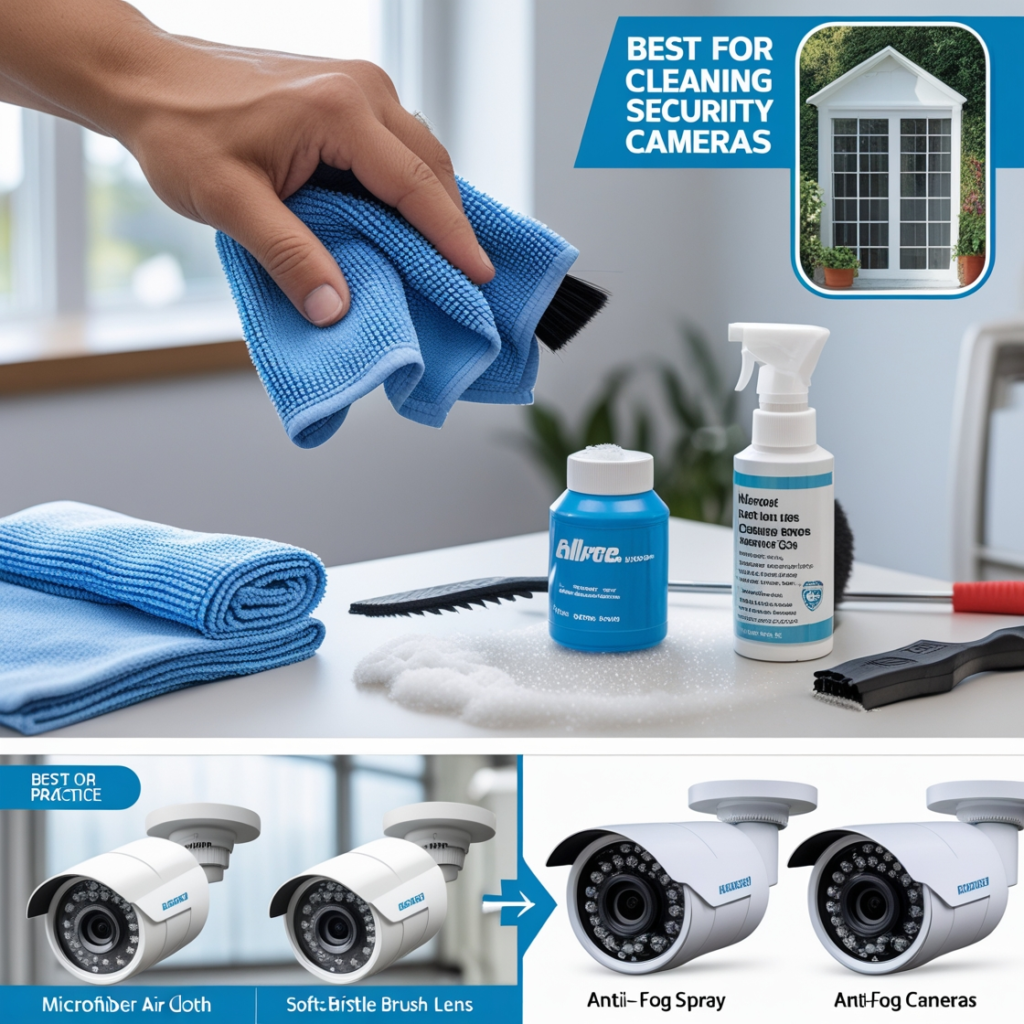
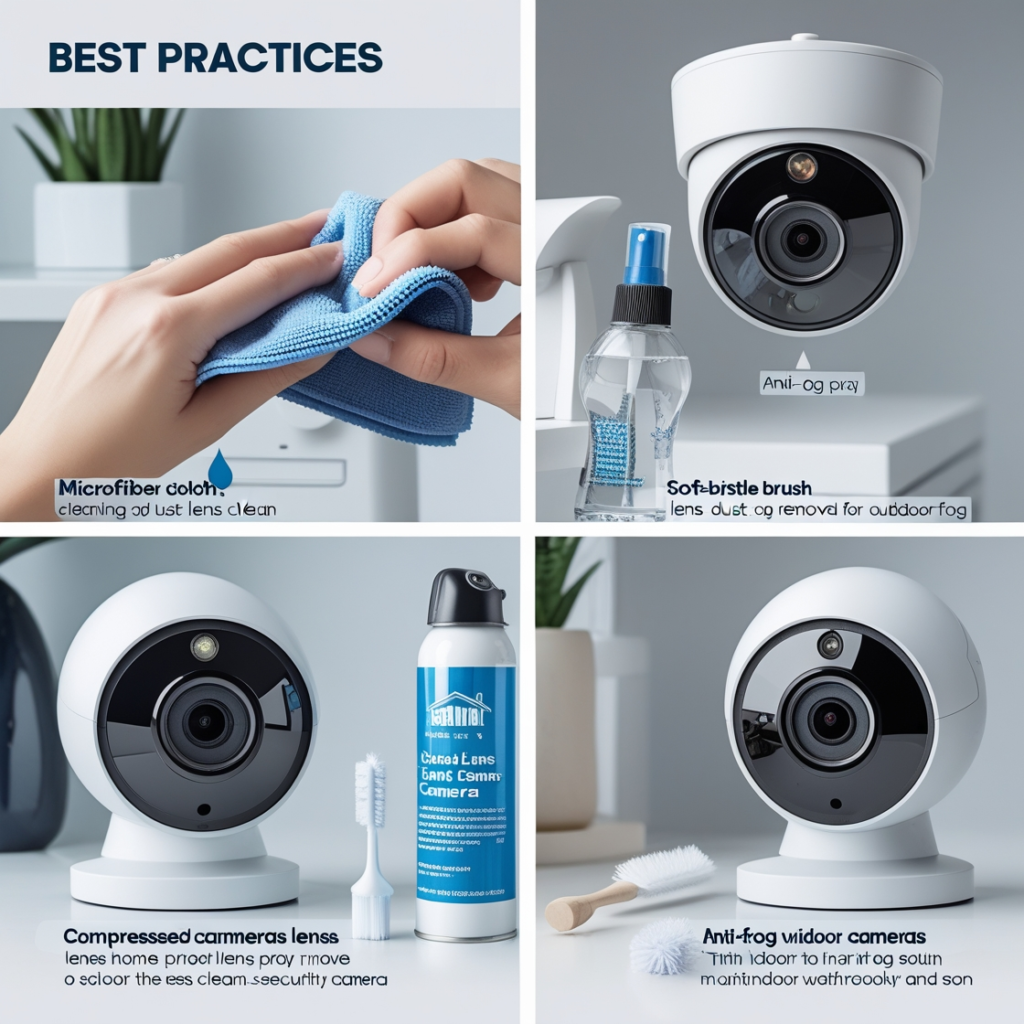
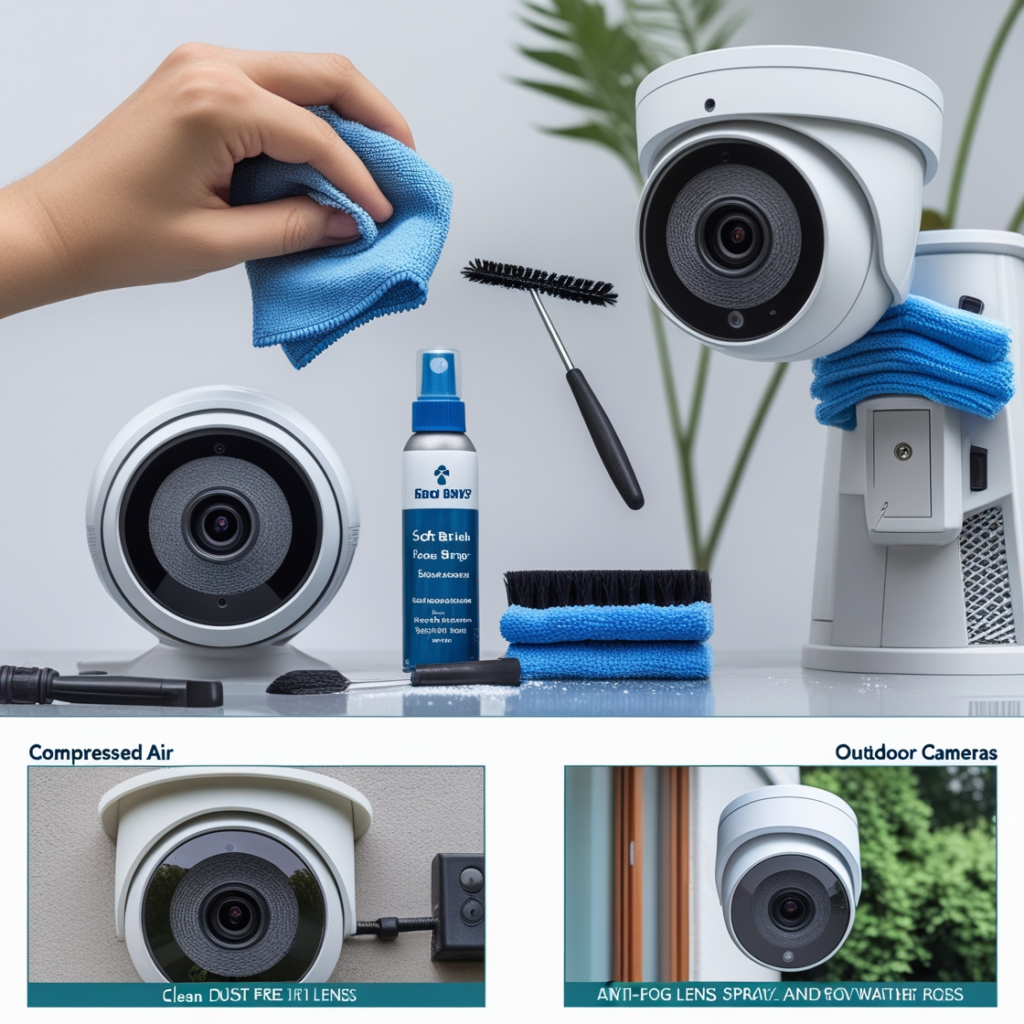
Essential Tools and Materials for Cleaning Your Cameras
Before you start, gather the right tools. Using improper materials can damage your equipment.
Tools You’ll Need
- Microfiber Cloths: Gentle on lenses and casings.
- Lens Cleaning Solution: Non-alcohol-based to avoid damaging lens coatings.
- Compressed Air Can: Removes dust from crevices.
- Soft-Bristle Brush: Ideal for clearing dirt without scratching.
- Screwdrivers: Necessary for accessing protected components on outdoor cameras.
Materials to Avoid
- Paper Towels: These can scratch the lens.
- Abrasive Cleaners: Harsh chemicals may degrade materials.
- Ammonia-Based Products: Can harm lens coatings.
By sticking to these recommended tools and avoiding harmful materials, you’ll preserve your cameras’ integrity.
Step-by-Step Guide to Cleaning Your Home Security Cameras
Whether your cameras are installed indoors or outdoors, proper cleaning is essential. Follow these detailed steps to ensure optimal performance.
Indoor Cameras
- Unplug the Camera: Always disconnect power before cleaning to avoid electrical hazards.
- Wipe the Lens: Use a microfiber cloth dampened with lens cleaner to gently clean the lens.
- Clean the Casing: Wipe the camera’s body with a soft, dry cloth. For stubborn dirt, use a mild soap solution.
- Dust Crevices: Use compressed air to remove dust from hard-to-reach areas.
Outdoor Cameras
- Turn Off Power: Disconnect the camera from its power source.
- Remove Protective Covers: Unscrew and carefully remove any covers shielding the camera.
- Brush Off Dirt: Use a soft-bristle brush to clear away loose debris.
- Clean the Lens: Apply a lens-safe cleaner with a microfiber cloth, ensuring no streaks are left behind.
- Reassemble: Once clean, securely reattach any protective covers.
- Check Positioning: Verify that the camera angle hasn’t shifted during cleaning.
- https://youtu.be/3BZL_oyAs0o
Specialized Cleaning for Night Vision Cameras
Night vision cameras have additional components like infrared sensors that require extra care.
- Clean IR Sensors: Gently wipe infrared sensors with a soft cloth to maintain functionality.
- Remove Cobwebs: Use a soft-bristle brush to clear away any obstructions.
Proactive Maintenance Tips for Long-Lasting Cameras
Beyond cleaning, proactive maintenance ensures your cameras stay reliable for years.
Weatherproofing Outdoor Cameras
- Install Protective Covers: Shield cameras from rain, snow, and direct sunlight.
- Check Seals: Regularly inspect gaskets and seals to prevent water damage.
Preventing Lens Fogging
- Apply Anti-Fog Spray: This reduces moisture buildup on lenses during humid conditions.
- Ensure Ventilation: Proper airflow around the camera housing minimizes condensation.
Updating Firmware and Software
- Schedule Regular Updates: Keep your system’s firmware up-to-date to fix bugs and improve performance.
- Follow Manufacturer Guidelines: Use official updates to avoid compatibility issues.
Common Mistakes to Avoid When Cleaning Home Security Cameras
Even with the best intentions, mistakes can harm your equipment. Here are common errors to avoid:
- Using Abrasive Materials: Scratches on the lens reduce image quality.
- Skipping Power Disconnection: Cleaning a powered camera poses safety risks.
- Applying Excessive Pressure: Pressing too hard on the lens or casing can cause damage.
- Ignoring Firmware Updates: Outdated software can lead to performance issues.
By avoiding these pitfalls, you’ll protect your investment and maintain clear, functional cameras.
Frequently Asked Questions (FAQ)
How often should I clean my home security cameras?
Ideally, clean your cameras every 1-2 months. Outdoor cameras in dusty or wet environments may require more frequent attention.
Can I use glass cleaner on camera lenses?
No, glass cleaners often contain ammonia, which can damage lens coatings. Use a lens-specific cleaning solution instead.
What should I do if my outdoor camera fogs up frequently?
Apply an anti-fog spray and ensure the camera is properly ventilated. Installing weatherproof enclosures can also help.
What are the best tools for cleaning my camera lens?
A microfiber cloth and a non-alcohol-based lens cleaner are safe, effective choices for cleaning lenses.
Bonus: Maintenance Schedule Table
| Task | Frequency | Tools Needed | Notes |
|---|---|---|---|
| Lens cleaning | Monthly | Microfiber cloth, lens cleaner | Indoor and outdoor cameras |
| Removing dust and debris | Every 2-4 weeks | Soft-bristle brush, air can | Focus on outdoor cameras |
| Checking weatherproof seals | Quarterly | Visual inspection | Replace damaged seals |
| Updating firmware | Monthly or as needed | Internet connection | Follow manufacturer updates |
Conclusion: Safeguard Your Security with Proper Care
Your home security cameras are a vital part of protecting your property and loved ones. By following the steps and tips outlined in this guide, you can ensure they remain in top condition. Regular cleaning, proactive maintenance, and avoiding common mistakes will not only improve their performance but also extend their lifespan.
Now it’s your turn: Commit to a maintenance schedule today, and enjoy the peace of mind that comes with a reliable, clear, and functional home security system. Your future self will thank you for it!